
BEGINNER’S GUIDE TO LAYER CHICKEN FARMING
How to Start Layer Chicken Farming:
A Complete Step-by-Step Guide for Beginners
This guide walks you through how to start chicken farming — from planning and investment to housing, feeding, vaccination, and marketing — so you can start your layer farm with confidence.
Layer chicken farming — raising hens specifically for commercial egg production — is one of the most dependable ways to earn steady income from poultry. Unlike broiler farming, where you’re racing against a 6-8 week growth cycle, a layer flock can keep producing income almost every single day for over a year. But getting it right takes more than buying chicks and hoping for the best.
Key Takeaways
|
Quick Fact |
Detail |
|---|---|
|
Start of egg-laying |
18–20 weeks of age |
|
Productive laying period |
72–78 weeks (up to ~18 months) |
|
Peak production |
26–30 weeks |
|
Feed-to-egg ratio |
~2.25 kg feed per 1 kg of eggs produced |
|
Daily feed intake (adult hen) |
White layers ~105 g/day; brown layers ~110–120 g/day |
|
Space requirement |
1.5–2 sq. ft. per bird (cage systems vary) |
|
Minimum beginner flock size |
300–500 birds (backyard/small-scale) |
|
Popular breeds |
White Leghorn, ISA Brown, Hy-Line, Lohmann Brown, Rhode Island Red |
What Is Layer Chicken Farming?
Layer chicken farming is raising hens specifically for commercial egg production, as opposed to broiler farming, which raises birds for meat.If you’re planning to start this venture, check out our complete poultry farming business plan in Pakistan for a step-by-step guide.
A healthy layer typically begins laying eggs at 18–19 weeks of age and continues until roughly 72–78 weeks, producing close to a kilogram of eggs for every 2.25 kg of feed consumed. This makes it one of the most efficient forms of livestock farming when managed correctly.
Because eggs are a daily household staple with consistent demand, layer farming offers something broiler farming doesn’t: a continuous, near-daily revenue stream rather than a single payout at the end of a growth cycle.
Benefits of Layer Chicken Farming
“A single healthy layer can produce 300+ eggs a year”
All Steps For How To Start Layer Chicken Farming
Step 1: Research the Market and Write a Business Plan
Before buying a single chick, study your local market: Who will buy your eggs? What are competitors charging? Is there a wholesale, retail, or export opportunity in your area? This research shapes everything else — your flock size, your budget, and your housing system.
A basic layer farming business plan should include:
Step 2: Calculate Your Startup Investment
Capital requirements vary hugely by scale, region, and housing system, but feed and infrastructure (land, shed, and cages) make up the bulk of the cost. Feed alone typically accounts for 70–80% of ongoing operating expenses.
Layer Farming Startup Cost Breakdown
|
Cost Category |
Small Scale (300–500 birds) |
Medium Scale (1,000–5,000 birds) |
Notes |
|---|---|---|---|
|
Land |
Varies by location |
Varies by location |
Rural land is cheaper and avoids urban zoning restrictions |
|
Shed/housing construction |
Low–moderate |
Moderate–high |
Depends on open-sided vs. environmentally controlled housing |
|
Cages/equipment |
Moderate |
High |
California-type cages are cheaper; H-frame battery cages cost more but hold far more birds per sq. ft. |
|
Day-old chicks |
Low |
Moderate |
Price per chick varies by breed and hatchery |
|
Feed (first 20 weeks, pre-laying) |
Moderate |
High |
Biggest recurring cost — budget carefully |
|
Vaccination & medication |
Low |
Low–moderate |
Small relative to feed but non-negotiable |
|
Water, electricity, labor |
Low–moderate |
Moderate–high |
Scales with flock size |
Tip: Many beginner guides suggest a minimum working capital covering at least the first 20 weeks (until birds start laying and generating income), since there’s no revenue during the rearing phase.
If capital is tight, look into agricultural microloans, government livestock schemes, cooperative farming groups, or phased scaling (start with 300–500 birds and reinvest profits to expand).
Step 3: Choose Your Location and Housing System
Choosing a Location
Pick a site that is:
- Away from residential zones (noise, odor, and disease-control regulations)
- Accessible by road for feed delivery and egg transport
- Well-drained, with reliable water and electricity access
- Positioned to allow future expansion
Choosing a Housing System
Layer Housing Systems Compared
|
Housing System |
Best For |
Pros |
Cons |
|---|---|---|---|
|
Deep litter (floor system) |
Small/backyard farms |
Low setup cost, simple to build |
Needs more floor space, harder to control hygiene |
|
California-type cage |
Farms of 5,000–30,000 birds |
Familiar, moderate cost, decent capacity (2–4 tiers) |
Manure collects below cages — higher disease risk, needs raised platform |
|
H-frame multi-tier battery cage |
Intensive commercial farms (30,000+ birds) |
High capacity (3–10 tiers), better hygiene, automation-ready |
Higher upfront cost |
|
Cage-free aviary system |
Farms targeting free-range/organic markets |
Meets welfare standards, commands premium prices |
Requires more space and skilled management |
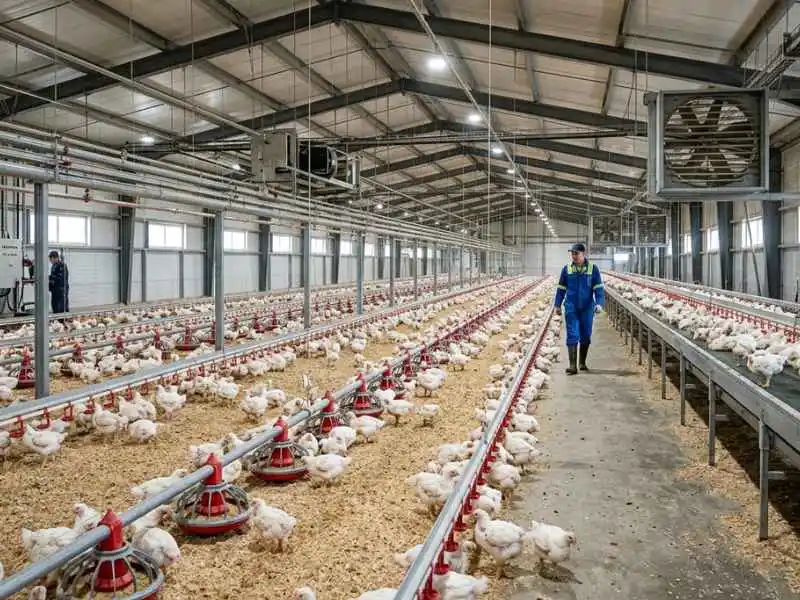
Whichever system you choose, ensure:
- 1.5–2 sq. ft. of space per bird (cage systems vary by tier design)
- Proper ventilation and temperature control (ideal range: 21–28°C / 65–75°F)
- Clean, accessible nesting boxes (roughly 12″x12″ per box, one box per 4–5 hens)
- Reliable, adjustable lighting (see Step 9)
Step 4: Select the Right Layer Breed
Your breed choice affects egg color, egg size, feed efficiency, and how well the birds adapt to your climate. Layers are broadly split into white-egg and brown-egg strains.
Before choosing a layer breed, it’s helpful to understand the differences between heritage and commercial chicken breeds, particularly in production, growth rate, feed efficiency, and breeding.
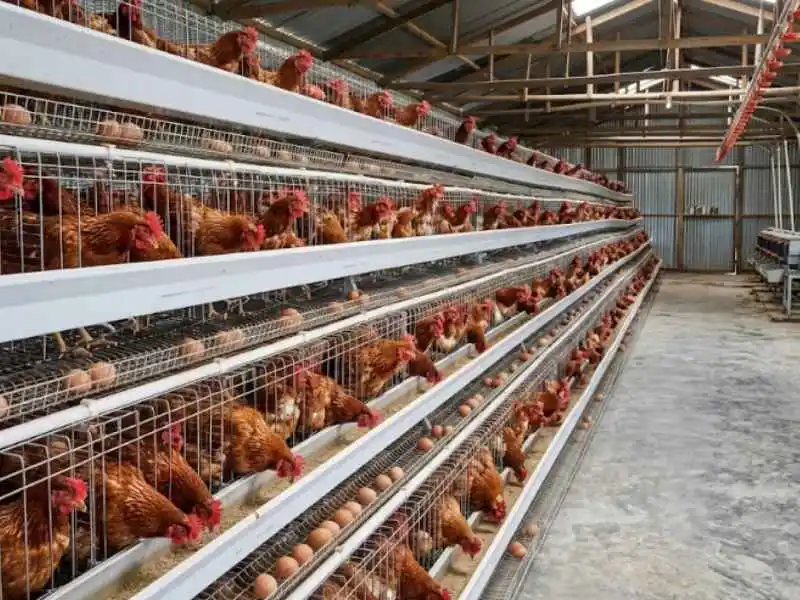
Best Layer Chicken Breeds Compared
|
Breed |
Egg Color |
Approx. Annual Egg Yield |
Feed Consumption |
Notes |
|---|---|---|---|---|
|
White Leghorn |
White |
280–320+ |
Lower (smaller-bodied bird) |
Hardy, excellent feed efficiency, industry standard for white eggs |
|
ISA Brown |
Brown |
300+ |
Moderate |
Popular commercial hybrid, calm temperament |
|
Hy-Line (Brown/White) |
Both variants available |
300+ |
Varies by strain |
Bred specifically for high commercial output |
|
Lohmann Brown |
Brown |
290–320 |
Moderate |
Strong livability, consistent shell quality |
|
Rhode Island Red |
Brown |
200–280 |
Moderate–higher |
Dual-purpose, hardier for backyard/free-range setups |
Tips for selecting chicks:
- Buy only from a reputable, disease-free hatchery
- Choose a strain proven to perform well in your regional climate
- Inspect chicks for alertness, clean vents, and active movement before purchase
- Avoid buying based on price alone — cheap chicks from unverified sources are a leading cause of early flock losses
Step 5: Manage the Brooding Stage (Day-Old to 6 Weeks)
The first six weeks are the most fragile period of a layer’s life. Chicks can’t yet regulate their own body temperature, so brooder houses need supplemental heat.
- Provide chick starter feed (approx. 19% protein) from day one
- Maintain brooder temperature around 32-35°C (90-95°F) in week one, reducing gradually by about 3°C each week
- Set up an efficient watering system — chicks are often reluctant to drink after transport stress, so many farmers add electrolytes or a small amount of glucose to water in the first days to help them recover
- Keep bedding clean and dry to prevent early disease outbreaks
Step 6: Manage the Growing Stage (6–20 Weeks)
Once chicks can regulate their own body temperature, they move into the grower phase.
- Switch to grower feed (approx. 15–17% protein, slightly lower energy than starter feed)
- Weigh birds weekly against breed-standard growth charts — both under- and overfeeding at this stage can hurt future egg production
- Beak trimming, if practiced, is typically done at 8–10 days old, with a possible touch-up at 8–12 weeks; avoid trimming stressed, sick, or recently vaccinated birds
- Continue vaccinations per your schedule (see Step 9)
Step 7: Move Birds to the Layer House (16–18 Weeks)
Transfer pullets to their permanent laying quarters before they reach sexual maturity — ideally at 16-18 weeks — so they have time to settle in before egg production begins. Handle birds gently during the move; rough handling at this stage can cause injuries or stress that delays the onset of laying.
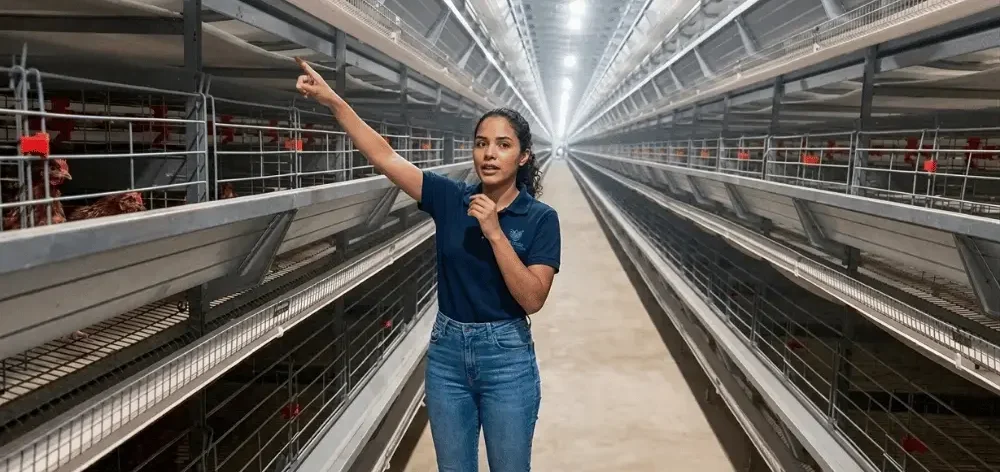
Step 8: Feeding and Nutrition
Feed is your single biggest ongoing expense, so getting it right protects both bird health and your profit margin.
Layer Feeding Schedule by Age
|
Age/Stage |
Feed Type |
Approx. Protein % |
Feeding Notes |
|---|---|---|---|
|
0–8 weeks |
Starter feed |
~19–20% |
Free access; supports rapid early growth |
|
6/8–18 weeks |
Grower feed |
~15–17% |
Slightly restricted feeding helps control body weight and boosts later egg production |
|
18 weeks onward |
Layer feed |
~16–18% + added calcium |
Calcium-rich for strong eggshells; never reduce feed once laying begins, even if birds gain weight |
Key nutrients for layers: protein, calcium, vitamins, and amino acids — all directly affect egg size, shell strength, and overall hen health. Never switch feed types abruptly; transition gradually over a few days.
Step 9: Lighting and Water Management
- Lighting: Layers need 14–16 hours of light per day to sustain consistent egg production.. Use timed artificial lighting to supplement natural daylight, especially in shorter winter days — inconsistent lighting is a common, overlooked cause of dropped egg yields.
- Water: Provide clean, fresh water at all times. Offer cooler water in summer and slightly warmed water in winter. Position drinkers conveniently throughout the house so no bird has to compete for access.
Step 10: Vaccination and Health Management
Disease prevention is far cheaper than treatment — and a single outbreak can wipe out months of profit. For detailed regional guidance, the FAO’s poultry health resources are a useful reference.
Layer Chicken Vaccination Schedule
Note: exact timing varies by region and hatchery recommendation
|
Disease |
Typical Vaccination Window |
Why It Matters |
|---|---|---|
|
Day-old (often at hatchery) |
Prevents tumor-related mortality; usually a day-one vaccination |
|
|
Newcastle Disease (Ranikhet) |
Early weeks, with boosters |
Highly contagious; can devastate an unvaccinated flock |
|
Infectious Bursal Disease (Gumboro) |
Early-to-mid brooding stage |
Attacks the immune system, increasing vulnerability to other diseases |
|
Fowl Pox |
Grower stage |
Prevents skin lesions and productivity loss |
|
Salmonella |
Per hatchery/vet guidance |
Protects both flock health and food safety of eggs |
General biosecurity practices:
- Restrict farm visitors and disinfect footwear/equipment at entry points
- Never vaccinate sick or visibly stressed birds
- Clean vaccination equipment thoroughly between uses
- Keep detailed health and production records to catch problems early
Step 11: Understand the Egg Production Timeline
- ~20 weeks: About 5% of hens begin laying
- ~21 weeks: Roughly 10% of the flock is in production
- 26–30 weeks: Flock reaches peak production (this can vary by strain)
- Up to 40–50 weeks: Egg size and laying rate continue to increase gradually
- After peak: Production plateaus, then gradually declines; most commercial farms replace hens around 72–78 weeks (about 18 months), though backyard farmers often keep hens longer if output is still acceptable
Step 12: Egg Collection, Grading, and Storage
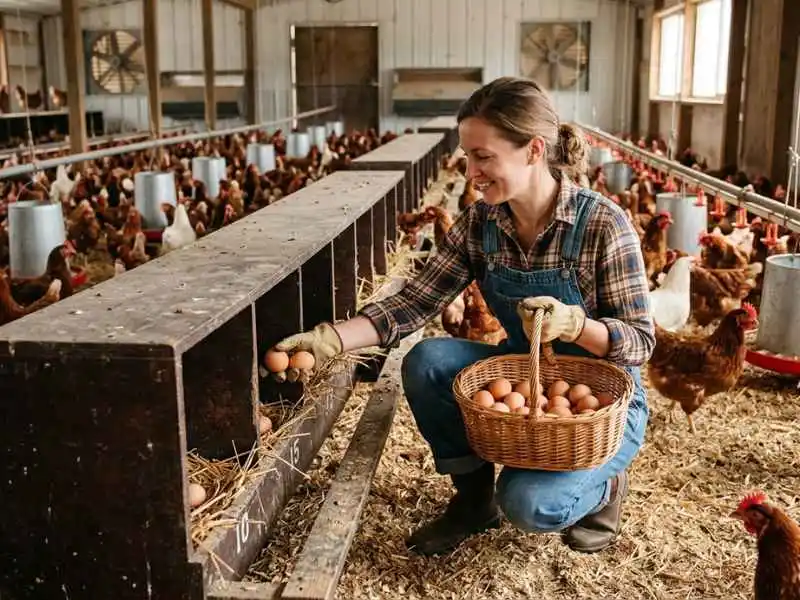
- Collect eggs at least twice daily to reduce breakage and contamination
- Inspect shells for cracks or damage during collection
- Grade eggs by weight/size — pricing varies significantly by grade
- Store eggs in a cool room around 13°C (55°F); for retail or home storage, refrigerate at 4–6°C (39–43°F)
- Use insulated transport for deliveries to preserve freshness
Step 13: Marketing and Selling Your Eggs
Once production ramps up, you need reliable buyers lined up before eggs start piling up.
- Local markets: Direct sales to consumers via farmers’ markets, local shops, or door-to-door delivery often fetch the best margins.
- Branding and packaging: Attractive cartons and clear branding help differentiate your eggs, especially for free-range or organic positioning.
- Wholesale: Once you scale up, supplying restaurants, hotels, and wholesalers provides steady, high-volume demand.
- Diversify buyers so you’re not dependent on a single outlet — this protects you if one channel dries up.
Common Mistakes Beginners Make in Layer Farming
- Underestimating startup capital — many beginners budget only for chicks and feed, forgetting housing, vaccination, and the 18-20 week gap before any income arrives.
- Choosing the wrong breed for their climate or market — leads to lower yields and weaker disease resistance.
- Overcrowding the housing — causes stress, pecking, and faster disease spread.
- Inconsistent lighting — a frequently overlooked cause of reduced egg output.
- Skipping or delaying vaccinations — a single disease outbreak can wipe out an entire flock’s profitability.
- Poor record-keeping — without tracking feed, mortality, and egg counts, it’s impossible to spot problems early or judge real profitability.
- Weak biosecurity — allowing visitors, vehicles, or unclean equipment onto the farm without disinfection protocols.
Challenges in Layer Chicken Farming
- Disease and health management: Requires consistent vaccination, hygiene, and biosecurity to avoid costly outbreaks.
- Feed costs: The largest and most volatile expense — monitor feed efficiency closely.
- Market competition: Growing demand for organic and free-range eggs means quality and niche positioning matter more than ever.
- Limited institutional support: In many regions, farmers should plan to be financially self-reliant rather than counting on government assistance.
Frequently Asked Questions
Conclusion
Starting how to start layer chicken farming is a realistic, scalable business for anyone willing to plan carefully and manage the details — breed selection, housing, nutrition, vaccination, and consistent record-keeping. The learning curve is real, but layer farming rewards patience: once your flock reaches peak production, you’re looking at a near-daily income stream that few other agricultural ventures can match.
Start small, master the fundamentals with your first flock, and reinvest profits to scale up once you understand your local market and production rhythms.